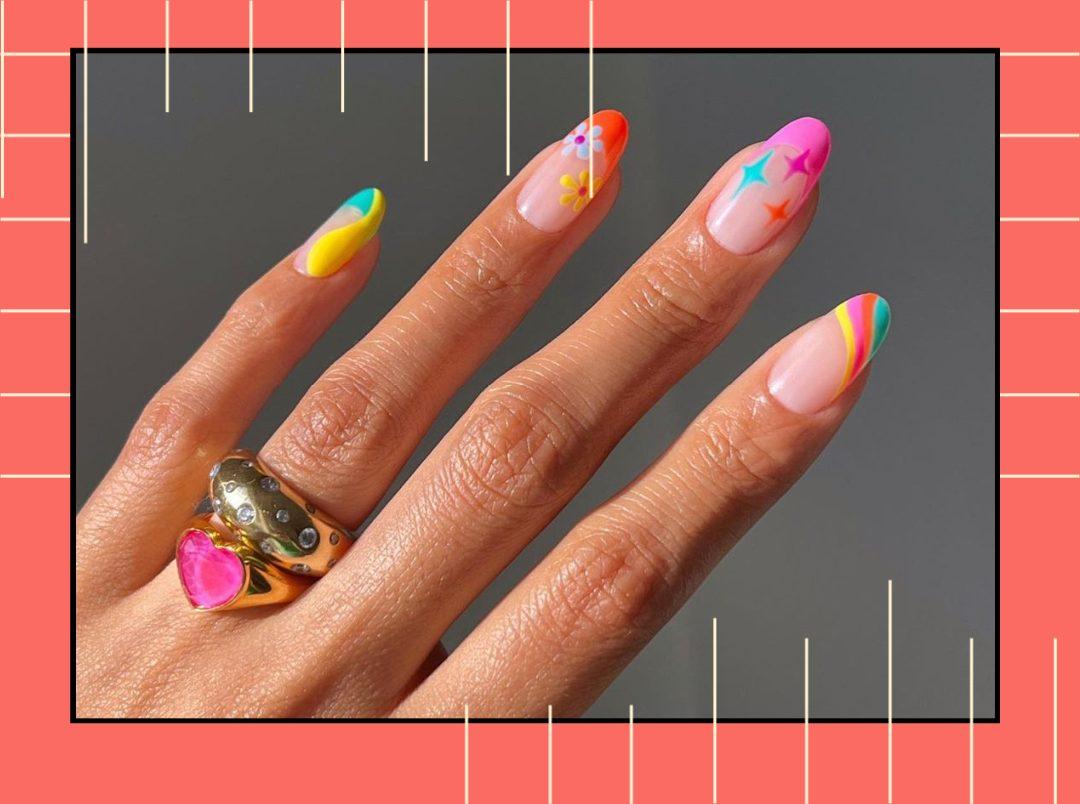
Picture this: You saw a cute nail art design on Instagram, hit the save button, and stocked up on some new products to ape it. But now you’re two hours into making your digits look fierce-AF only to realise that it’s a more difficult feat than you’d initially imagined. You find yourself struggling to get an even coat. Yeah, we’ve all been there. The truth is, attempting to DIY a manicure at home sounds like a good weekend plan theoretically, but there’s a lot more that goes into attaining those salon-worthy talons than what meets the eye.
So as we spend many hours sitting at salon chairs picking the brains of pro manicurists to unlock often-overlooked lacquer lapses, we’re listing them down for you. Whether your cuticles end up looking shredded or you struggle to get a smooth coat of colour, steering clear of these mistakes can make all the difference. Scroll to see some precious nail tips.
7 Mistakes Your Manicurist Wants You To Stop Making, Stat
Not Prepping Your Nails
Just like you cleanse your skin before going ahead with skincare and makeup application, prepping your nails is super vital. Make sure your nail bed is clean and always dehydrate the nail plate with acetone or dehydrator before applying the rest of the nail products. If you skip this step, the dirt, dust, and oil on your nails will stop the gels from clinging to your nail bed, which means you’re nail paint isn’t gonna last as long as it should – and we hate chipped nail paints.
Destroying Your Cuticles
A tidy cuticle is the key to achieving a picture-perfect manicure. And while it can be tempting to grab the nippers and attempt to replicate the salon techniques, it’s best to leave anything that requires tools to the pros. Imagine trying to remove dead skin cells only to find it wasn’t actually dead skin cells and you are left bleeding…terrible!
Applying Thick Coats
No matter how time-consuming it might be, remember multiple thin layers are way better than one thick one. Less really is more when it comes to an at-home manicure. Ensure each nail paint coat is super thin as thick coats can not only make your mani look gloopy but can also drastically shorten the lifespan of your manicure.
Not Capping
Most of us aren’t aware of capping, but it is the ultimate trick to stop your nail polish from chipping. The capping technique is used to ensure your nail polish is sealed and resistant to chips. It involves taking some product on a nail paint brush and running it along the tip of your nails before you put it under the UV lamp. You don’t want a lot of product on the brush as you just want to paint thinly.
Not Tidying Up
Not tidying up your manicure is one of the most common reasons why your DIY manicure doesn’t look as perf as your salon one. Letting specks of polish left on the surrounding areas of your nails make them look messy.
Skipping Aftercare
If there’s one step you never skip after doing an at-home manicure, let it be this one. Applying cuticle oil is one of the easiest ways to keep your mani looking fresh and will help prevent it from peeling and lifting. Good aftercare is what differentiates a 5-day mani from a 3-week one. In addition to this, it’s crucial to avoid subjecting your nails to intensive practices to avoid damage.
Picking Off Your Nail Paint
Picking off your acrylics or gel polish is one of the most damaging things you can do to your nails. As tempting as it might be, damage incurred by improper removal can take months to repair. It’s best to invest in a good soak-in kit as they are easy to use and will help reduce damage to your nails.
No trips to the salon involved, but you’ve got to bookmark this!
Featured Image: Instagram


.jpg)


