You probably have some familiarity with acrylic nails and gel extensions if you enjoy detailed nail art, long coffin nails, and glittery, chrome manicures (also known as gel-x nails). Gel nail extensions are an improved version of press-on nails that can be adhered to your natural nails to give them the length and shape you wish.
TBH, gel extensions are excellent for flaunting all kinds of nail art; they’re simple to apply, and they require fewer chemicals than acrylics. However, it requires the appropriate removal process to ensure that they’re also gentle on your natural nails. In spite of how difficult it may seem, removing gel extensions at home is actually very simple. Continue reading to learn how to correctly remove gel nail extensions at home without harming your natural nails.
What Are Gel-X Nails?
By using building gel or gel glue and curing them under a UV light, gel extension nails are affixed to the native nail. Gel nails are delicate and flexible, and they soak off with acetone. From long coffins to short almonds to medium squares, they are offered in a wide range of shapes and forms. When correctly removed, the soft-gel extensions can dissolve without harming your nails, allowing for the application of a fresh set. They can endure for about three to four weeks.
Is Gel-X Better Than Acrylic Nails?
Gel extensions are preferred over acrylic ones given that they are easier to apply and have no filing, shaping, or odour. Gel extension removal (which is similar to acrylic nail removal) is really bad for the nail bed and may even pull the nail off the skin if attempted with dental gloss, a nail tool, a credit card, or just by yourself. It is preferable to soak gel extensions in acetone to help them dissolve before removing them. Any kind of discomfort is a sure sign that you’re removing them incorrectly.
Here’s How To Remove Gel Extension Nails At Home
While going to a professional is the best option to get rid of these fake nails, we are aware that this can take a lot of time and money, both of which can be difficult to come by. But don’t panic, there are alternative techniques that have been approved by experts that will safely and correctly remove those gel extensions without harming your natural nail bed.
First, Trim & File Your Extensions
Trimming your extensions before the removal helps quicken the process if you have long extensions. In order to avoid clipping your natural nails in the process, be careful to inspect under the nail. Using a coarse file or an e-file, if you have one, smooth the surface after trimming your gel extensions. It will be easier to remove gel polish more quickly if the top layer is broken.
Remove Extensions With Acetone & Foil
Using only acetone delivers the most effective and fastest results. There are two distinct methods you can use to remove the gel extensions.
- The first step is to pour just enough acetone into a tiny glass bowl to cover your nails.
- For 15 to 20 minutes, soak them.
- This phase requires patience, so watch your favourite movie and unwind.
And if you don’t want to soak your nails, this is the technique you can opt for.
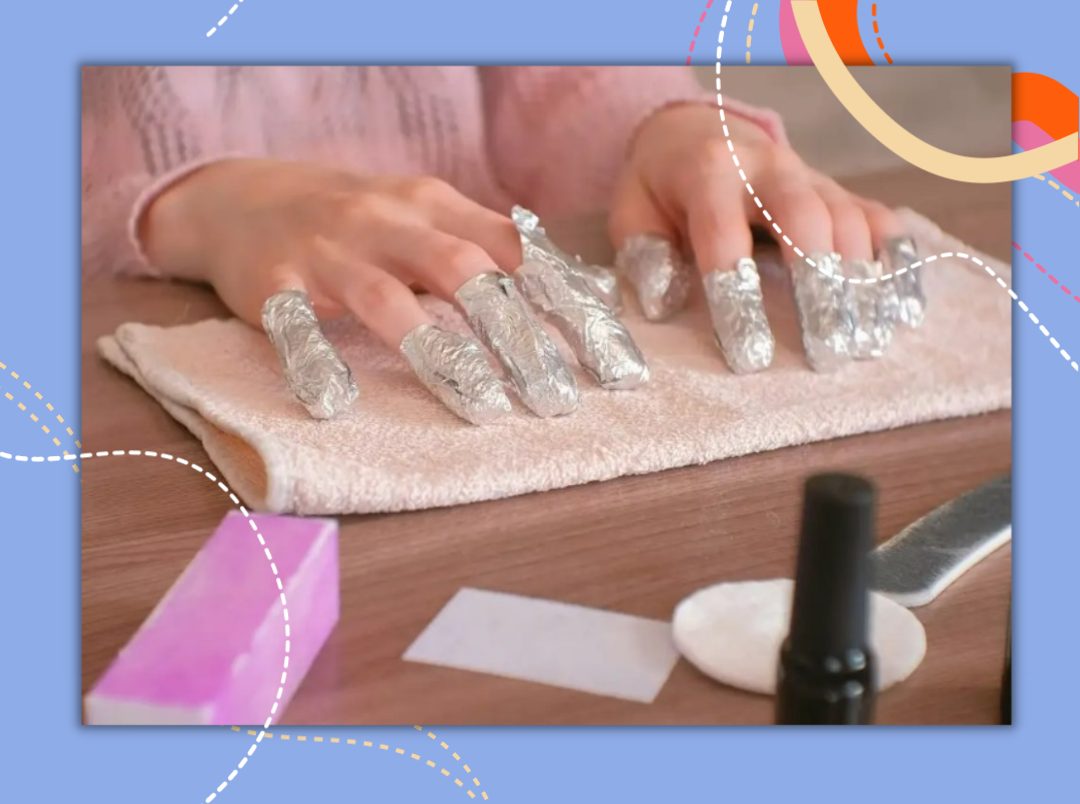
- To remove your gel extensions, if you don’t want to soak your nails, you can alternatively use foil, cloth, and acetone.
- Dip a cotton ball in acetone, fasten it to the nail, and then wrap them both in foil.
- Repeat this for every nail.
- Allow the foil to remain on your gel extensions for at least 15 to 20 minutes.
Now You Can Scrape Off The Extensions!
After the allotted time has passed, the extensions will start to dissolve, and you can gently scrape them off with an orange stick. Return to soaking the nail in acetone if the scraping ever becomes painful or if you find yourself pulling on the nail forcefully. Repeat the procedure until the entire gel extension and nail adhesive can be carefully removed. Before the gel has completely dissolved, vigorous scraping and pulling might gravely harm your natural nails.
Buff Your Natural Nails
After removing all of the gel extensions, carefully file the surface of your nails to eliminate any extra adhesive. Apply petroleum jelly or cuticle oil as a finishing touch to hydrate the skin around your nails. Replace the set of gel extensions you just removed with a fresh one if you’re removing them correctly and your natural nails don’t seem to be affected.
Now that you are aware of these straightforward steps, feel free to try ’em at home.
Featured Image: Instagram