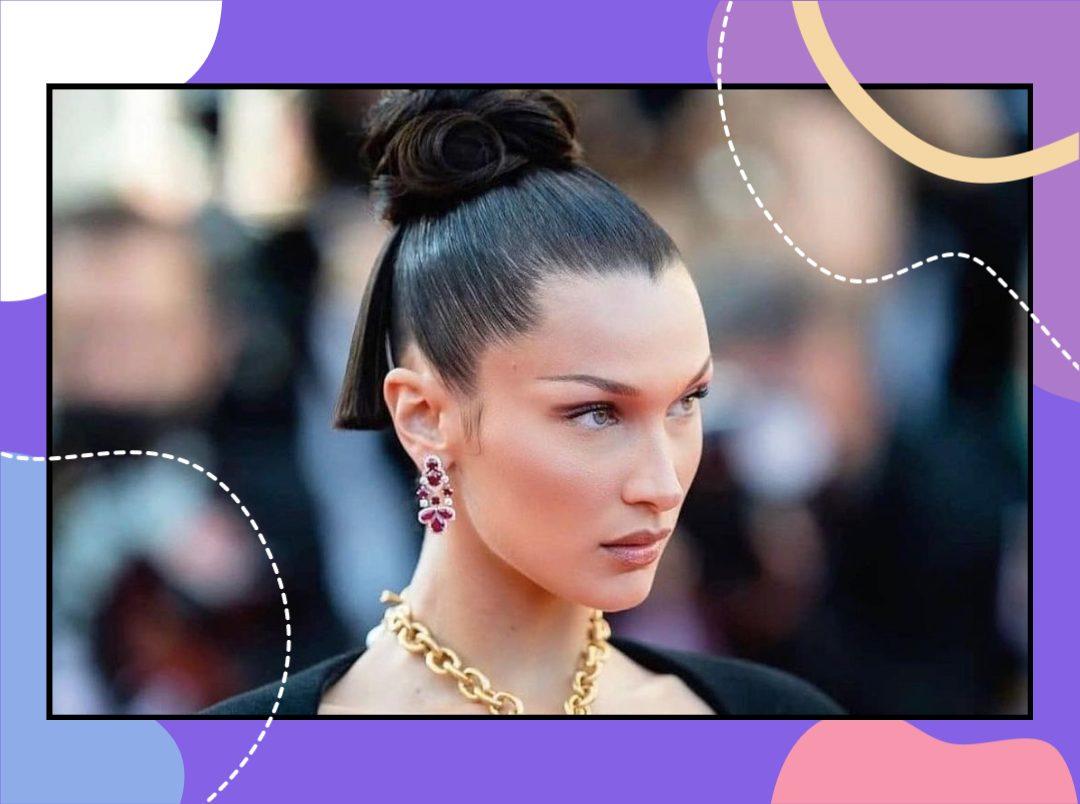
From Disco curls to sky-high ponytails, it’s hard to keep up with the many hair trends flooding our FYPs on a daily. Even the banana clip is back with fervour. However, if there’s one hairstyle that we see over and over again is the slicked-back bun. It’s dominating the runways, red carpets, and our Instagram feeds right now and counts celebrities like Bella Hadid, J.Lo, Zendaya, and Kendall Jenner among its devotees.
It’s our latest hair crush that is perfect for 3rd, 4th, or hell, 5th-day hair and fancy events alike. Plus, it is so damn versatile. Pair it with a crisp white shirt for the daytime, or team it up with your evening fit to make heads turn your way. The hairdo gives off an edgy Y2K energy and practically guarantees you a spot on the best-dressed list. So how do you ape that snatched, slicked-back bun without inducing a pounding headache? Here we’re spilling the secrets to slay it like glamm queen.
The Step-By-Step Guide To Achieve Super Sleek Snatched Bun
Step 1: Prep Your Hair
We recommend starting with clean hair. Make sure it’s dry. You can also apply a lightweight styling cream that offers flexible hold and texture to your strands. This will help give your hair a better base for your sleek bun without making it too heavy.
Step 2: Straighten Your Hair
Once your hair is dry, part the hair in the center and straighten it taking no more than a one-inch section at a time. But before you go all out with your flat iron, make sure you’ve applied a heat protectant. This will help reduce head damage while eliminating frizz and creating a smoother, cleaner finish. Make sure to straighten the hair close to the roots and around the hairline for a neater look.
Step 3: Apply Hair Oil
Once your hair is straight and cooled, apply your fave hair oil or hair serum to impart shine and smoothen the hair, giving it an ultra-sleek look. Opt for a lightweight formula that doesn’t make your hair greasy and sticky. Brush the product through to help distribute it evenly.
Step 4: Secure Your Bun
Now is the time to secure your ponytail. The position is quite crucial while doing so as you don’t want your bun to be too high or too low in the nape. Try to position it in the middle of the back of your head. Once secured, start by twisting and bending the ponytail. Then, wind around the hair tie. Pin the hair as it starts to bend around the hair tie. Don’t force your hair into a shape it doesn’t want to go. Instead, allow it to move in its own direction. Opt for a bungee hair tie as it’ll help create a super tight bun and then use pins to ensure a clean finish.
Step 5: Fix In Place
Once done with step 4, make sure all pins are hidden. Then, smoothen over any frizz and flyaways around the hairline. You can use a cream or hairspray and a small brush to do so. Alternatively, a hair pomade can also help add shine and hold without overburdening the hair.
Get ready to turn heads!
Featured Image: Instagram


