

I’ve only ever clutched the very tail-end of my flat-iron — fearing that in my pursuit of super-slick hair, my fingers will surrender to my clumsiness, slip a little, and cause the fiery-hot tool to graze my skin mercilessly. It happens to the best of us. Sometimes — it’s not even you. It’s your hairstylist maneuvering the curling-iron too close to the back of your ear. But what after your skin has reddened, and a blister has descended upon the spot not so discreetly? How do you do damage-control? Ahead — a step-by-step guide on treating a hot-tool burn easily.
A Definitive Guide To Treating A Hot-Tool Burn
Cool The Burn
Before applying anything to counteract the wound, run it under (cool) water for a minute or two, or press a (cold) compress against the area for twenty minutes. This step removes the heat from the wound, and prevents the burn from penetrating deeper layers of the skin.
- Remember not to apply ice to the spot directly. This can damage the skin further. Encase the cube in a handkerchief to create a buffer between your skin and the ice-cube.
- When you’re running the burn under water, make sure it’s not ice-cold either.
Assess The Damage
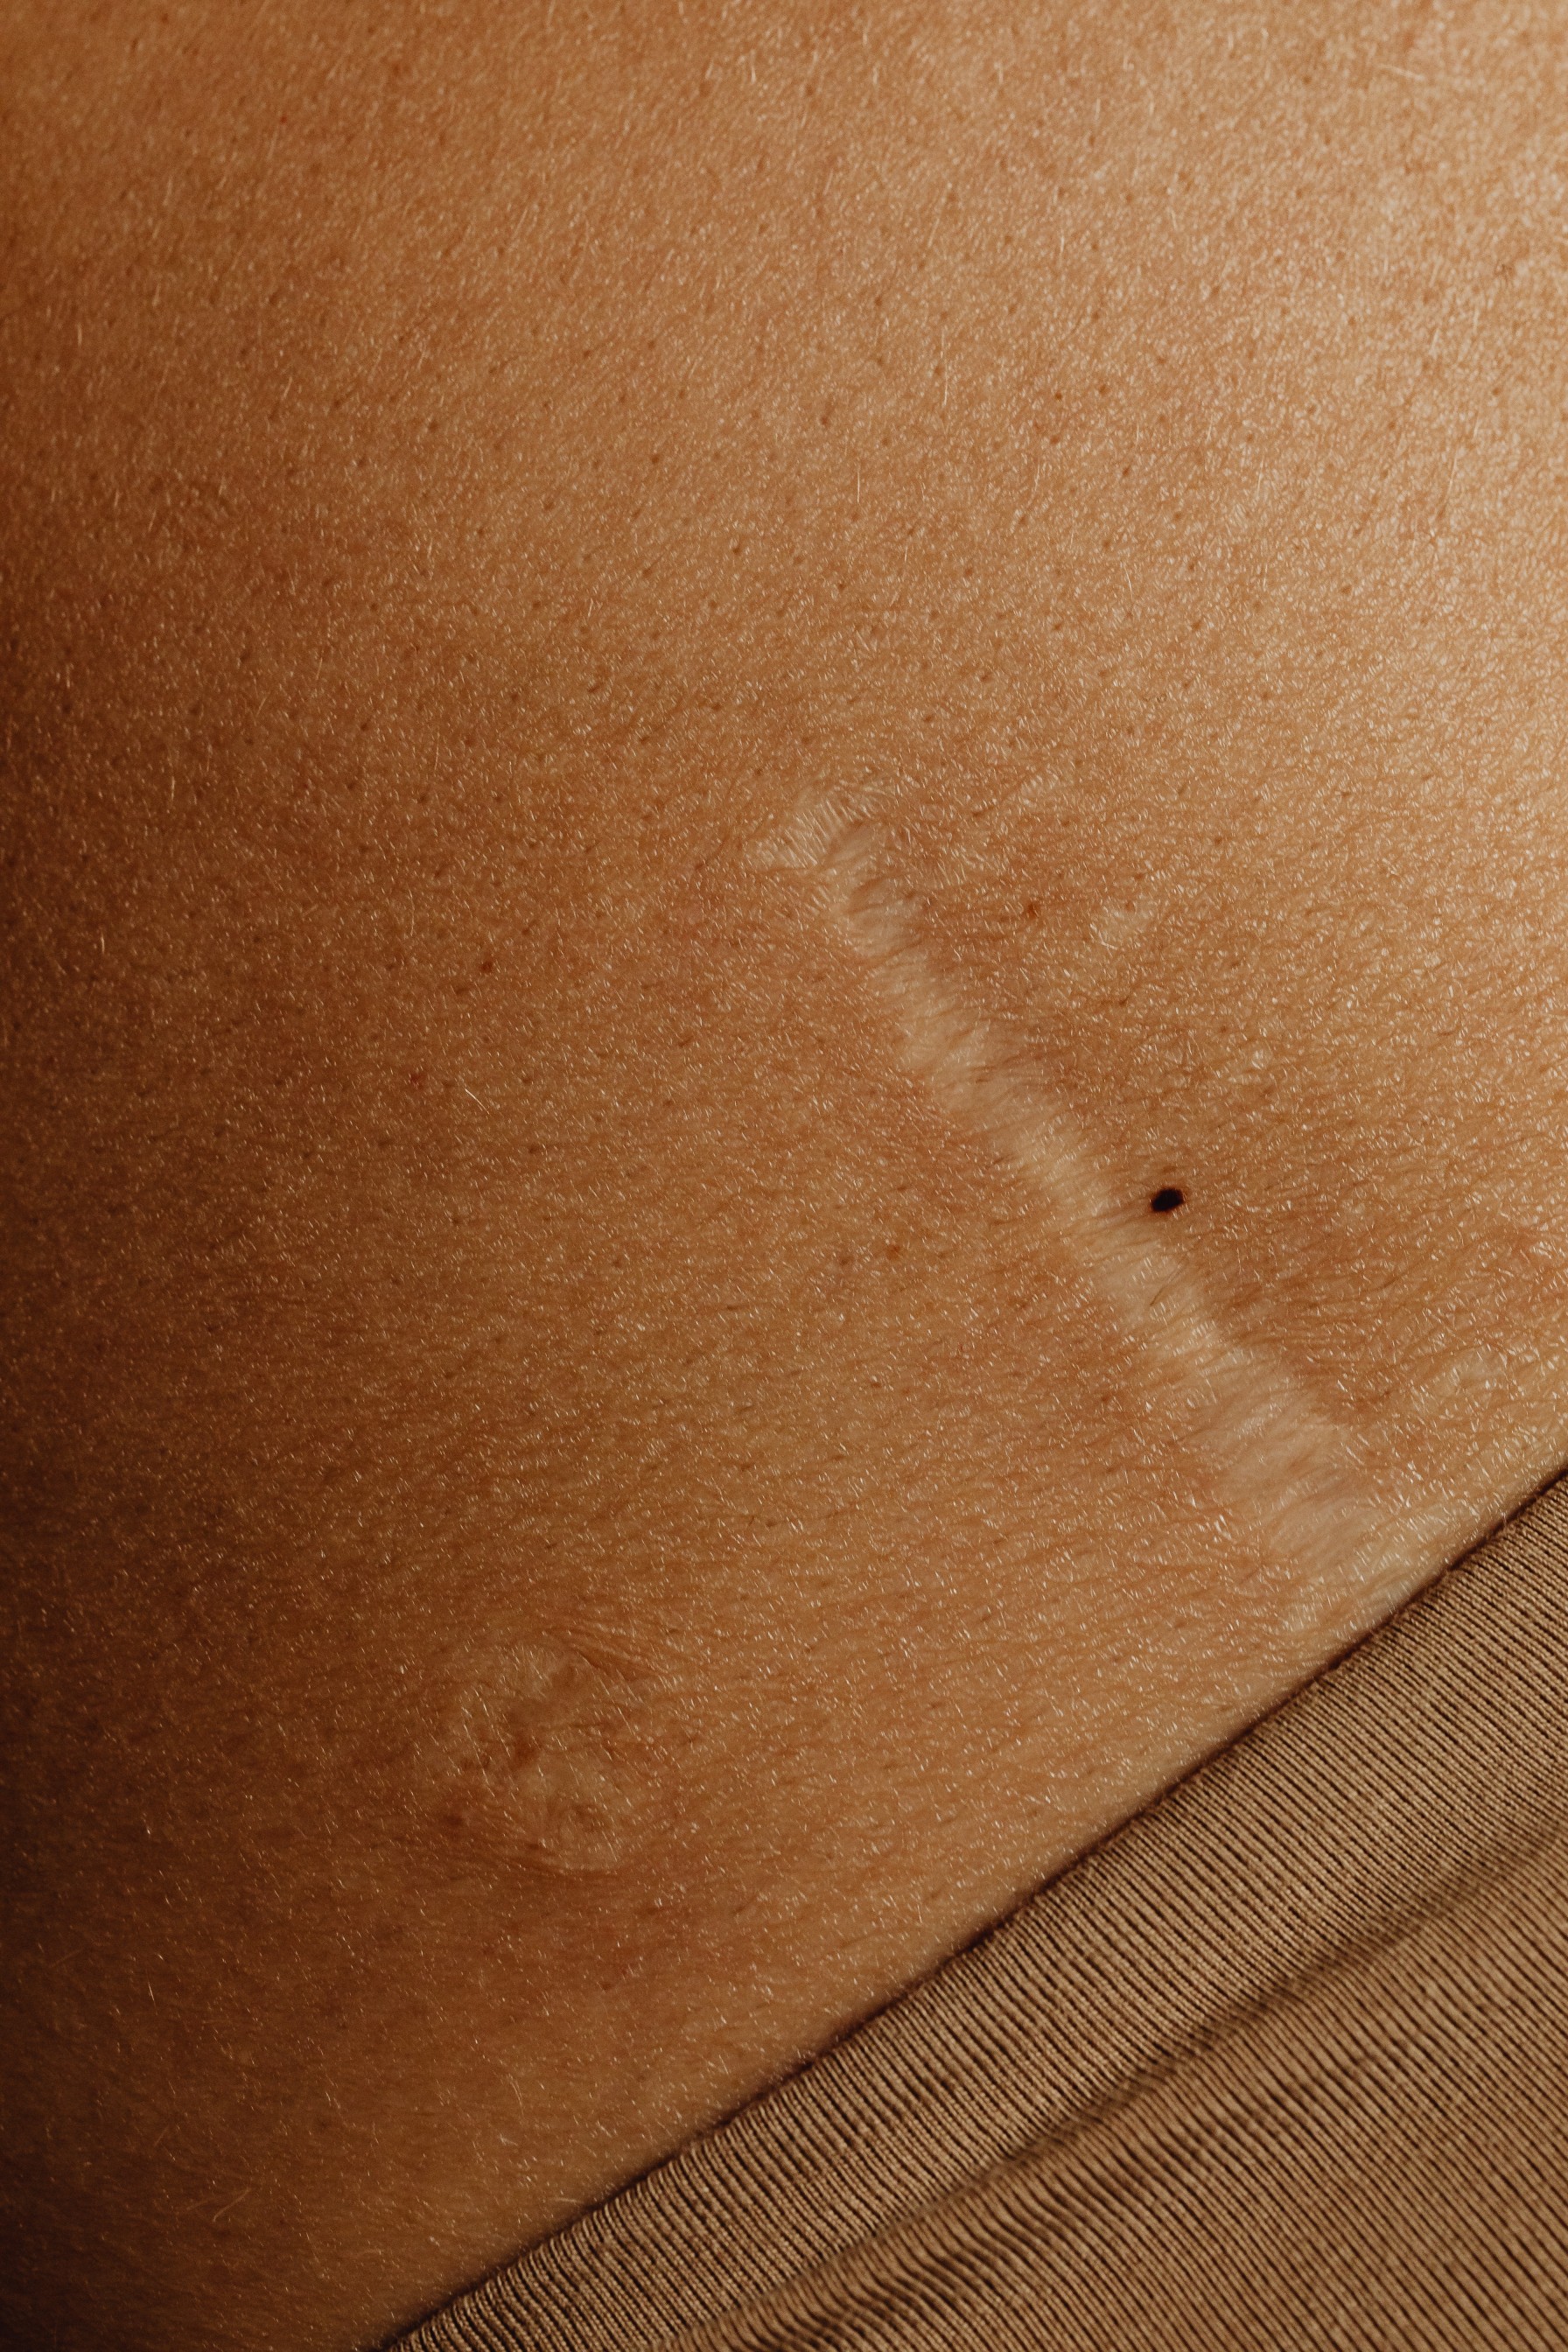
Most burns caused by heat-styling tools are superficial and first-degree — this implies that the burn has limited itself to the outermost layers of the skin. Symptoms manifest as burning and redness, and last for about 10 days before healing. Blistering and bleeding aren’t commonly reported in these cases — indicating that the burn is treatable at home.
- If you notice discharge, discolouration, bleeding, or oozing, seek immediate help. These are symptoms of a more serious burn, and are best treated by a professional.
Apply A Burn Gel
Once you’re done determining the extent of the damage, and deemed it logical to treat the burn at home, you must disinfect the wound. Do this by soaking a cotton-pad with a little bit of soap-water, and running it over the area. Follow this up with a cooling burn-gel to soothe the patch immediately.
- Avoid using any gels or creams containing fragrances, actives, or other irritants around the area.
Moisturise The Spot
Moisturising the burn is important. This step accelerates the healing-process, and prevents scarring. Look out for double-duty ointments that don’t just disinfect but hydrate as well. Continue moisturising the area with this cream for a couple of days before switching to something more standard like Vaseline or Aquaphor.


Reduce The Risk of Scarring + Hyperpigmentation
Continue massaging the area with Coconut Oil after it has healed to break up scar-tissue. And treat the area with a brightening cream to reduce post-inflammatory hyperpigmentation. Look out for formulas composed of Kojic Acid, Arbutin, and lightening ingredients alike. You can visit your dermatologist for treatment too.
- If your skin has blistered, do not pick at it at all. If it’s bothering you too much, you can go to the dermatologist to release the blister; but don’t attempt to pop it at home. This predisposes the skin to pigmentation and scarring.
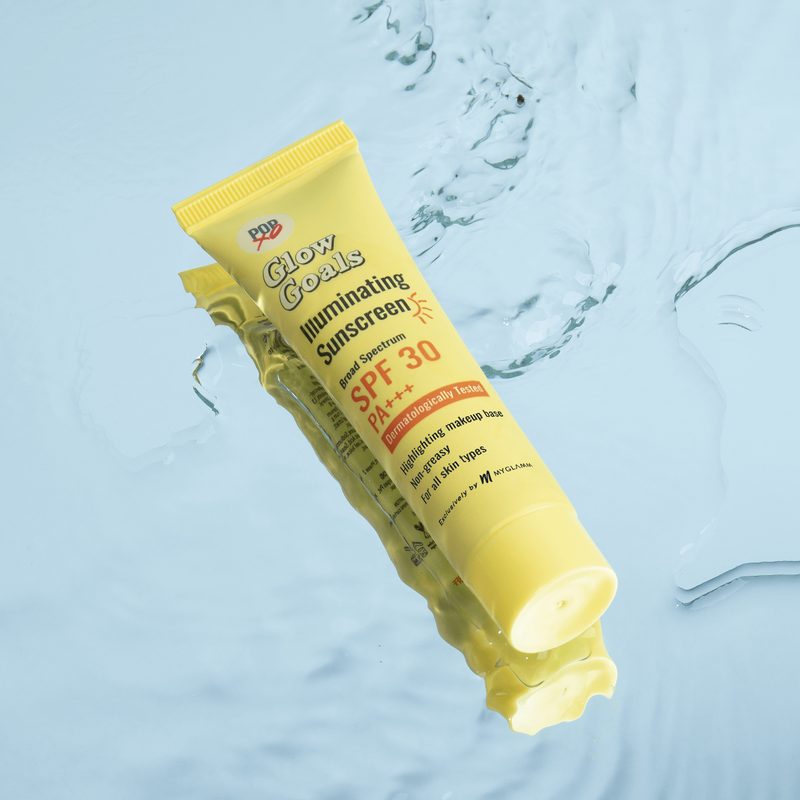
Load Up On SPF
Don’t forget to sun-proof your skin — especially the spot — once the scab has disappeared, and the skin has healed itself. This is to minimise the effects of U.V-induced damage like scarring and burning. Opt for a sunscreen with an SPF of 30 or higher, and make sure it’s hydrating in nature.
Use A Wound-Healing Dress Before Concealing
You don’t want to irritate the area with products like concealer. You can layer the site with a small wound-healing dress-patch before applying concealer or makeup over it to make it less conspicuous.
And that’s it.
Featured Image: Pexels


