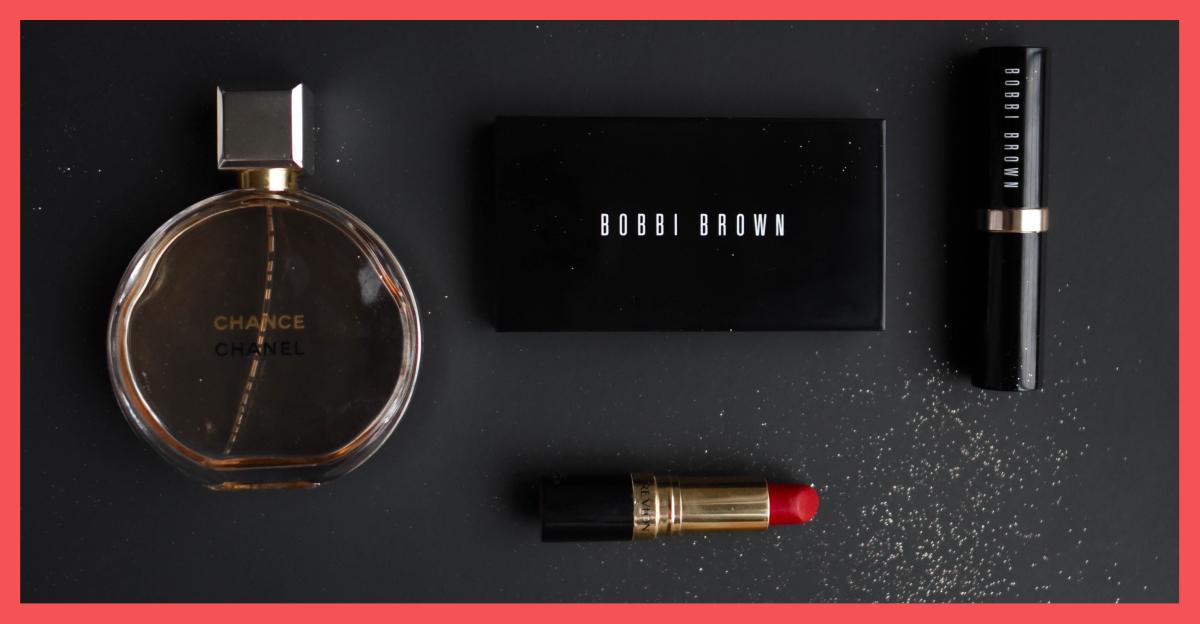
If you’re active on Instagram and love talking about all things makeup, chances are you’re always trying new things on ace that flatlay. Having made many mistakes while shooting our beauty hauls we know just how tricky shooting makeup can be. So we put our heads together to figure a nice way for you to take better pictures of makeup.
Here are some things to keep in mind when shooting a flatlay.
1. Set the mood.
Flatlay is usually a collection of beauty essentials that are either in the same family: like foundations and concealers or products that are usually used together (cleanser, toner, moisturiser). So before shooting make sure you pick products that help you create a mood.
2. Get a few background options.
When taking a photo, the background is key in establishing both the mood as well as depth. A white table-top can never go wrong, and is great especially if you’re shooting colourful products.
A lot of influencers talk about investing in contact paper or backgrounds but I find using fabrics around the house works too. A faux fur towel or floor mat is great for doubling up as a background op too.
3. Add a prop or two.
Sometimes I look at a makeup kit and go “this would make for a great flatlay prop.” Adding props to your flatlays is one of the most used techniques that makes your photos totally relatable. So if you’re shooting a photo of your everyday essentials, adding a coffee cup, your favourite slogan necklace or flowers is a good idea.
4. Try to create a balance.
The method of knolling (the technique of putting similar products at a 90-degree angle) says a lot about balance. When placing makeup in a frame, make sure it’s not too sparse on one side and full-to-the-brim on the other. Feel free to change things up till you see a certain sense of balance in the frame.
5. It’s all about the angles.
When I start shooting, I take the easiest angles first. Which for me would be a vertical angle. Make sure your products are facing you correctly, and if the logos are not inverted. Now that you’ve taken a few obvious shots, try to experiment with a side angle or over the top. Make sure your products are in focus and not blurry unless you’re opting for the bokeh effect.
Lastly, top angles are my favourite. Feel free to stand on top of a chair, or your bed. If you like you can also invest in a mounting gear for your phone that also doubles up as a selfie stick. If you wanna go pro, a photo box is all you need.
6. Have fun with it.
It’s easy to get caught up in it. The lighting, the balance, the mood can sometimes get to you. Take a break and start over. Most flatlays are achieved by taking many shots. Keep at it and you’ll get there.
7. Make most of the editing apps.
Increasing brightness or adding a filter can help elevate the flatlay to the next level. My favourites are VSCO Cam, Facetune and Snapseed.
Hope these tips were helpful! Don’t miss our flatlays and swatch parties on Instagram
Featured Image: Unsplash.com


