

Undoubtedly, getting your nails painted can be a soothing, spa-like session that leaves you feeling absolutely pampered. But it’s frustrating, to put it mildly when you discover that your polish has already started chipping within days or even minutes after getting a manicure or departing the nail salon. While gel nails do come to our rescue, there are times when switching up nail colours in less than two weeks is essential.
If this has ever happened to you (and who hasn’t, really?), you undoubtedly want to know how to extend the life of your nail polish. Even though some of it undoubtedly has to do with the products you use—or don’t use—like the best cuticle oils, which help fortify nails and make them less brittle and susceptible to chipping—there’s more to it than that. The good news is that you can follow these simple steps to achieve the long-lasting digits of your dreams! Check it out!
Why Do Some Nail Polishes Wear Off Quickly?
Unknown to many, preparing your nails is necessary if you want your nail polish to last. Before applying the polish, your nails should be thoroughly cleaned to eliminate any oil residue that might still be present. If this happens, the polish may not stick on well. Moreover, you must always complete the pre and post-mani steps, which involve applying a base and top coat, while doing your nails at home. You should use a base coat to help the nail paint adhere to your nails more effectively, with the exception of one-step nail polishes that clearly state no base coats or top coats are required. You’re welcome!
Follow This Step-By-Step Guide To Make Your Manicure Last Longer
Step 1: Trim ‘Em Nails!
To prevent uneven or jagged edges, it’s crucial to trim and file your nails. Secondly, keeping them short helps extend the life of your nail paint. The longer your nails, especially if you do a lot of household chores like washing dishes or doing laundry, the more likely it is that they will break while performing daily activities.

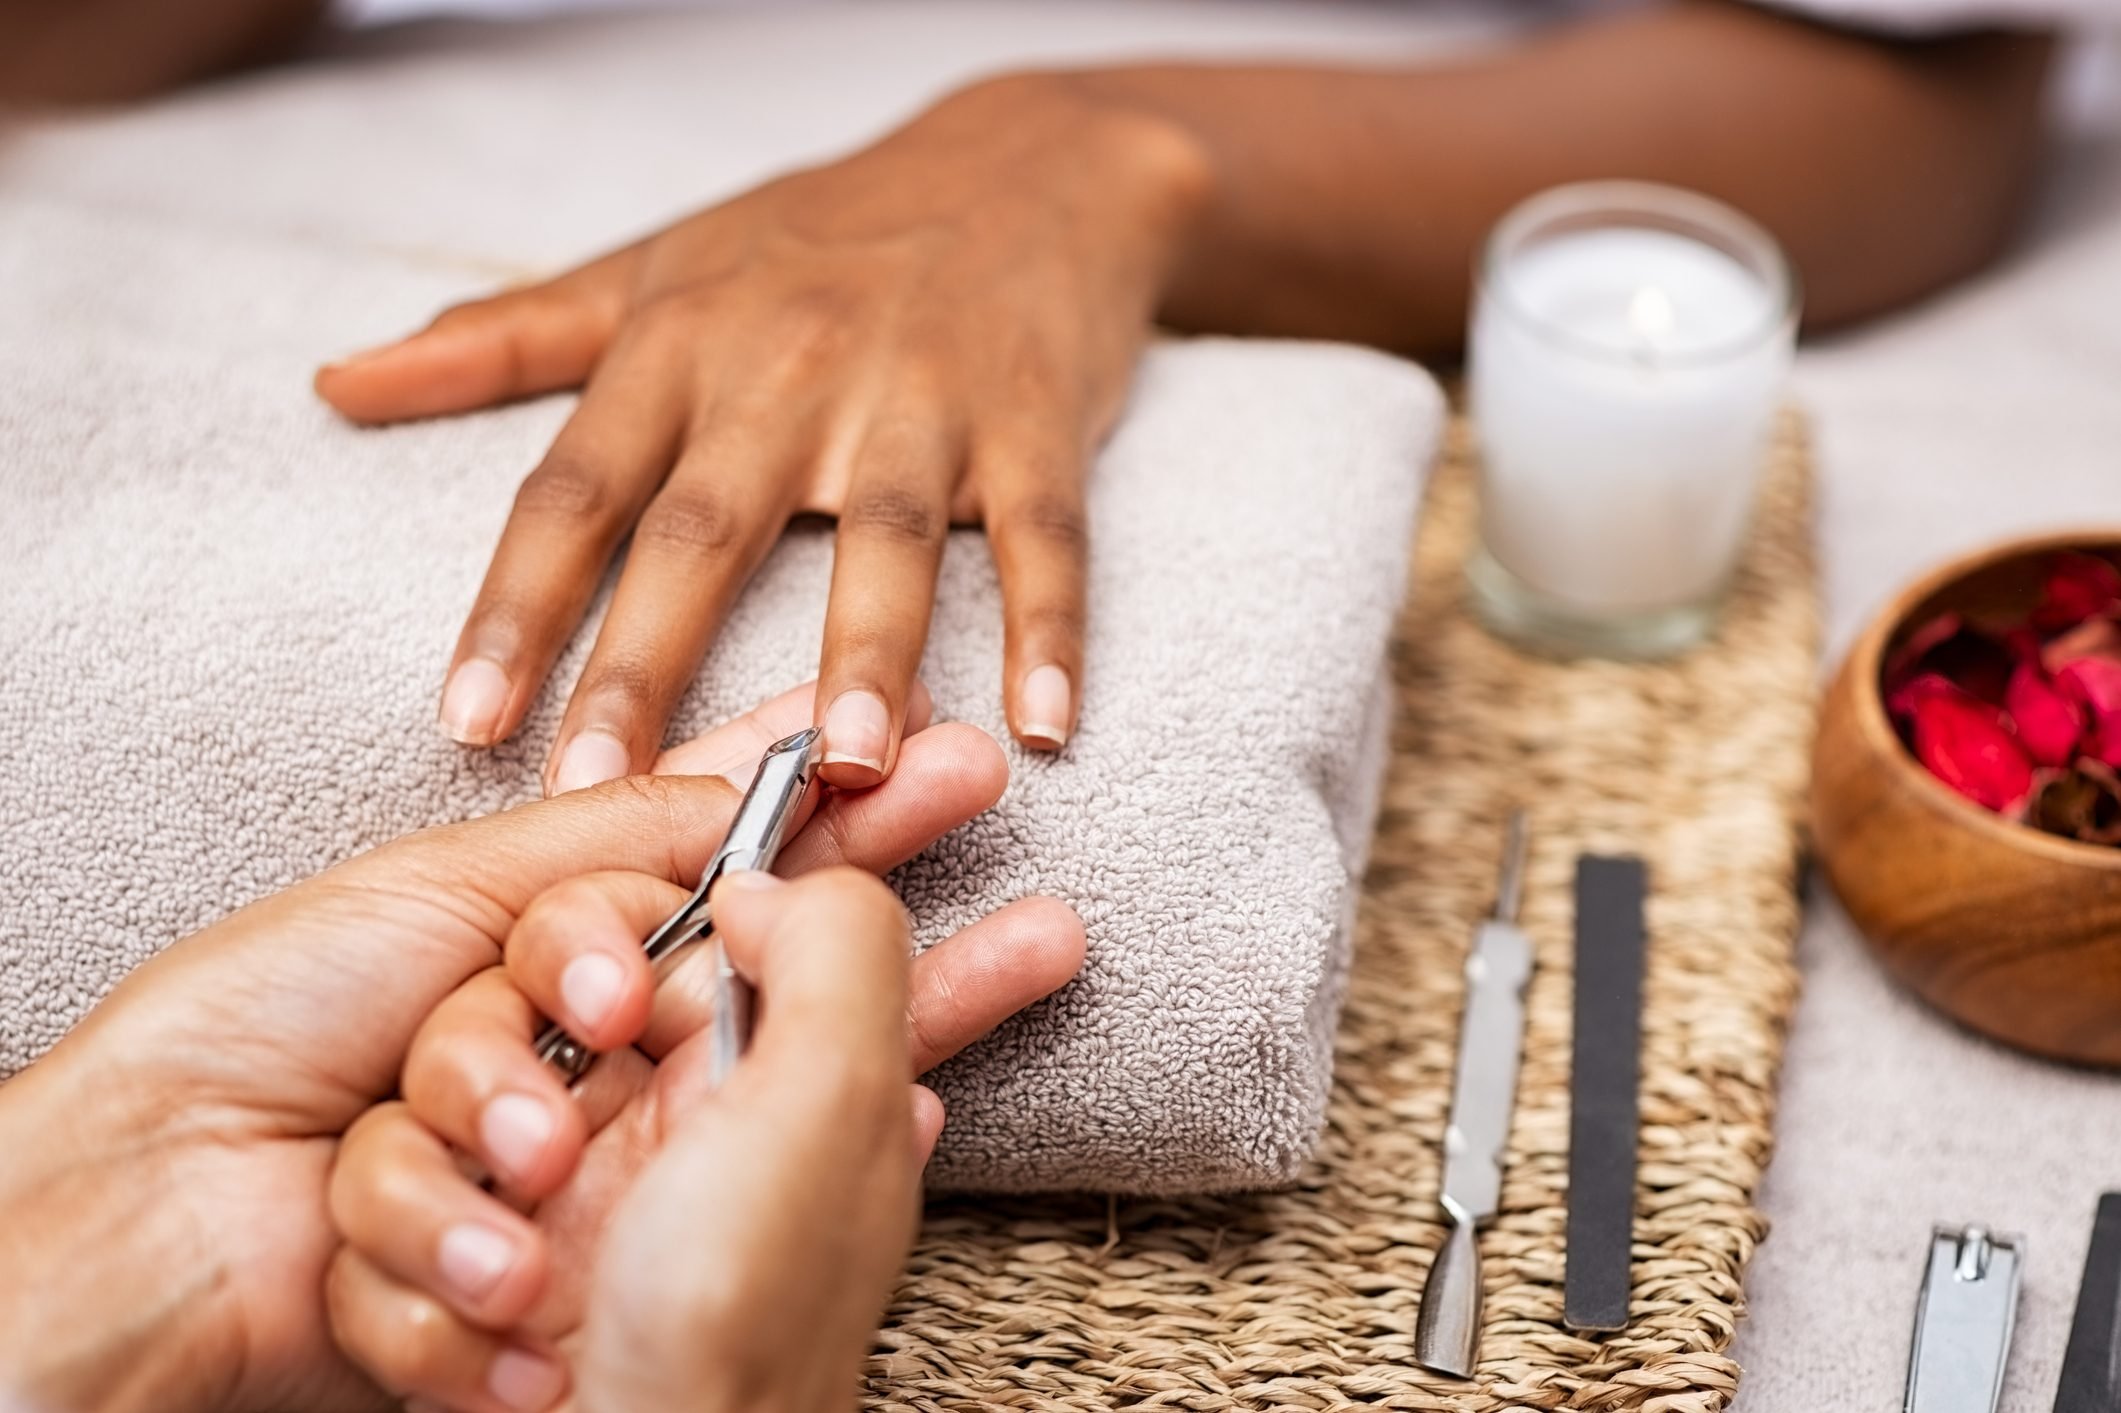
Step 2: Cleanse Your Nail Bed
It’s crucial to clean your cuticles and nail bed properly in addition to buffing and filing your nails. This makes it easier to make sure there is no oil buildup on your nails. Your polish won’t adhere to the nail as effectively if there are oils or cuticle growth on the nail bed because this will hinder adherence. The ideal preparation involves gently pushing back your cuticles and cleaning your nails with premium isopropyl alcohol.

Step 3: Dry Off Your Nails Before Painting On The Polish!
Before you begin painting on the polish, completely dry your hands after doing all of the preliminary work. In truth, we tell you, water causes our nails to contract and extend. Since nail polish doesn’t stretch with your nails, it may crackle when your nails constrict after drying with polish already on top, which causes chipping.

Step 4: Liquid Latex FTW
While orange sticks are excellent for pressing down cuticles, the application of liquid latex can prove to be quite helpful if you have a tendency to paint your nails in a haphazard manner. To get a neat, salon-fresh finish, simply paint a thin layer of liquid latex around your nail beds. For a flawless manicure, just polish over it as much as necessary and peel it off when completed!

Step 5: The Three-Step System Is The Deal
Base, polish, and top coat are common combinations seen in sets of three nail polishes. If so, it’s crucial to utilise the entire system in order to get the intended results. For instance, the gloss helps seal and protect your colour, while the primer encourages adherence and prevents discoloration. And when you combine all of these techniques, you’ll get a manicure that lasts for a very long time. Skipping steps could shorten the life of your manicure.

Step 6: Apply Thin Coats Of Polish
Apply many layers of polish—ideally three—making sure they aren’t too thick to prevent polish from peeling through. Make sure you pick from the best nail polish selection (including non-toxic nail polishes).

Step 7: Use A Nail Polish Drying Drops
When waiting for their nail paint to dry, nobody likes to sit without using their hands for 10 minutes. Try out the miraculous dry drops for a beautiful shine. Best of all, it takes only 80 seconds for nail paint to dry to the touch! Just apply a few drops to your nails, wait just over a minute, and you’re done!

Now you may paint your nails without worrying about them cracking or chipping!
Featured Image: Instagram


